Sunday
Dec112016
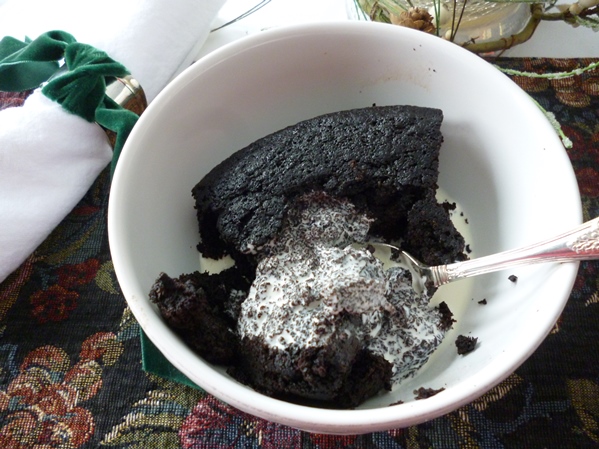
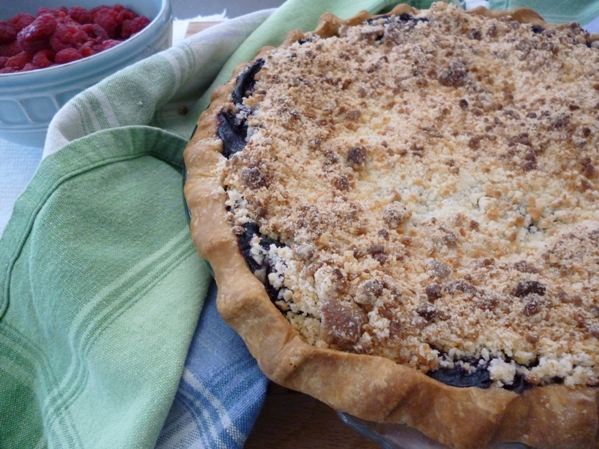
Cranberry Orange Crumb Cake
 Margot
 I have to admit that although I used to love the original recipe from my Great Grandmother, she used lard and milk, and over time I have modernized this recipe with butter and sour cream. The result is a tender moist crumb vs the very fine dry crumb from her recipe. She also made hers very plainly, but when you have leftovers, why not use them? If you don't have Orange extract, substitute Vanilla extract or 2 Tbs Orange juice and cut the sour cream by 2 Tbs.
Ingredients:
For the crumb topping
1/4 cup granulated sugar
1/3 cup light brown sugar, lightly packed
1 teaspoon ground cinnamon
1/8 teaspoon ground nutmeg
1/4 pound (1 stick) unsalted butter, cut into 1/4 inch cubes
1 1/3 cups all-purpose flour
1 Tbs Orange Zest
- Put all of the ingredients, except for the butter, into the bowl of a food processor fitted with the knife.
- Pulse a few times to combine the dry ingredients
- Add the butter cubes, spreading them out around the bowl
- Pulse the knife until the mixture resembles large crumbs and set aside
For the cake:
6 tablespoons unsalted butter, at room temperature (3/4 stick)
3/4 cup granulated sugar, plus 2 Tbs for the cranberries
2 extra-large eggs, at room temperature
1 teaspoon pure Orange extract
1 Tbs grated Orange zest
2/3 cup sour cream
1 1/4 cups all-purpose flour
1 teaspoon baking powder
1/4 teaspoon baking soda
1/2 teaspoon kosher salt
1 cup fresh cranberries
- Preheat the oven to 350 degrees F. Butter and flour a 9-inch round baking pan.
- Cream the butter and sugar in the bowl of an stand mixer fitted with the paddle attachment on high speed for 4 to 5 minutes, until light.
- Reduce the speed to low and add the eggs 1 at a time, then add the vanilla, orange zest, and sour cream.
- In a separate bowl, sift together the flour, baking powder, baking soda, and salt. With the mixer on low speed, add the flour mixture to the batter until just combined.
- Mix the cranberries with 2 Tbs of Sugar to coat, then fold into the batter until it is mixed.
- Spoon the batter into the prepared pan and spread it out evenly.
- Using a fork, sprinkle the crumb topping evenly over the batter.
- Bake for 40 to 50 minutes, until a cake tester comes out clean.
;)
;)
;)